HEM’s Last Visitor: Flower Animation
The goal of this project was to extend my understanding of vertex-animated textures, focusing on how best to split and texture the resulting geometry. The initial unfolding of the flower is a modified setup I found from Ian Frederick. It’s a fairly simple vellum cloth sim that gets reversed at the end, as you’ll see. The pod it blooms from is a separate sim that uses the initial flower blooming as a collider. In this breakdown, I’ll walk you through the Houdini networks and show the textures that were made in Substance Designer.
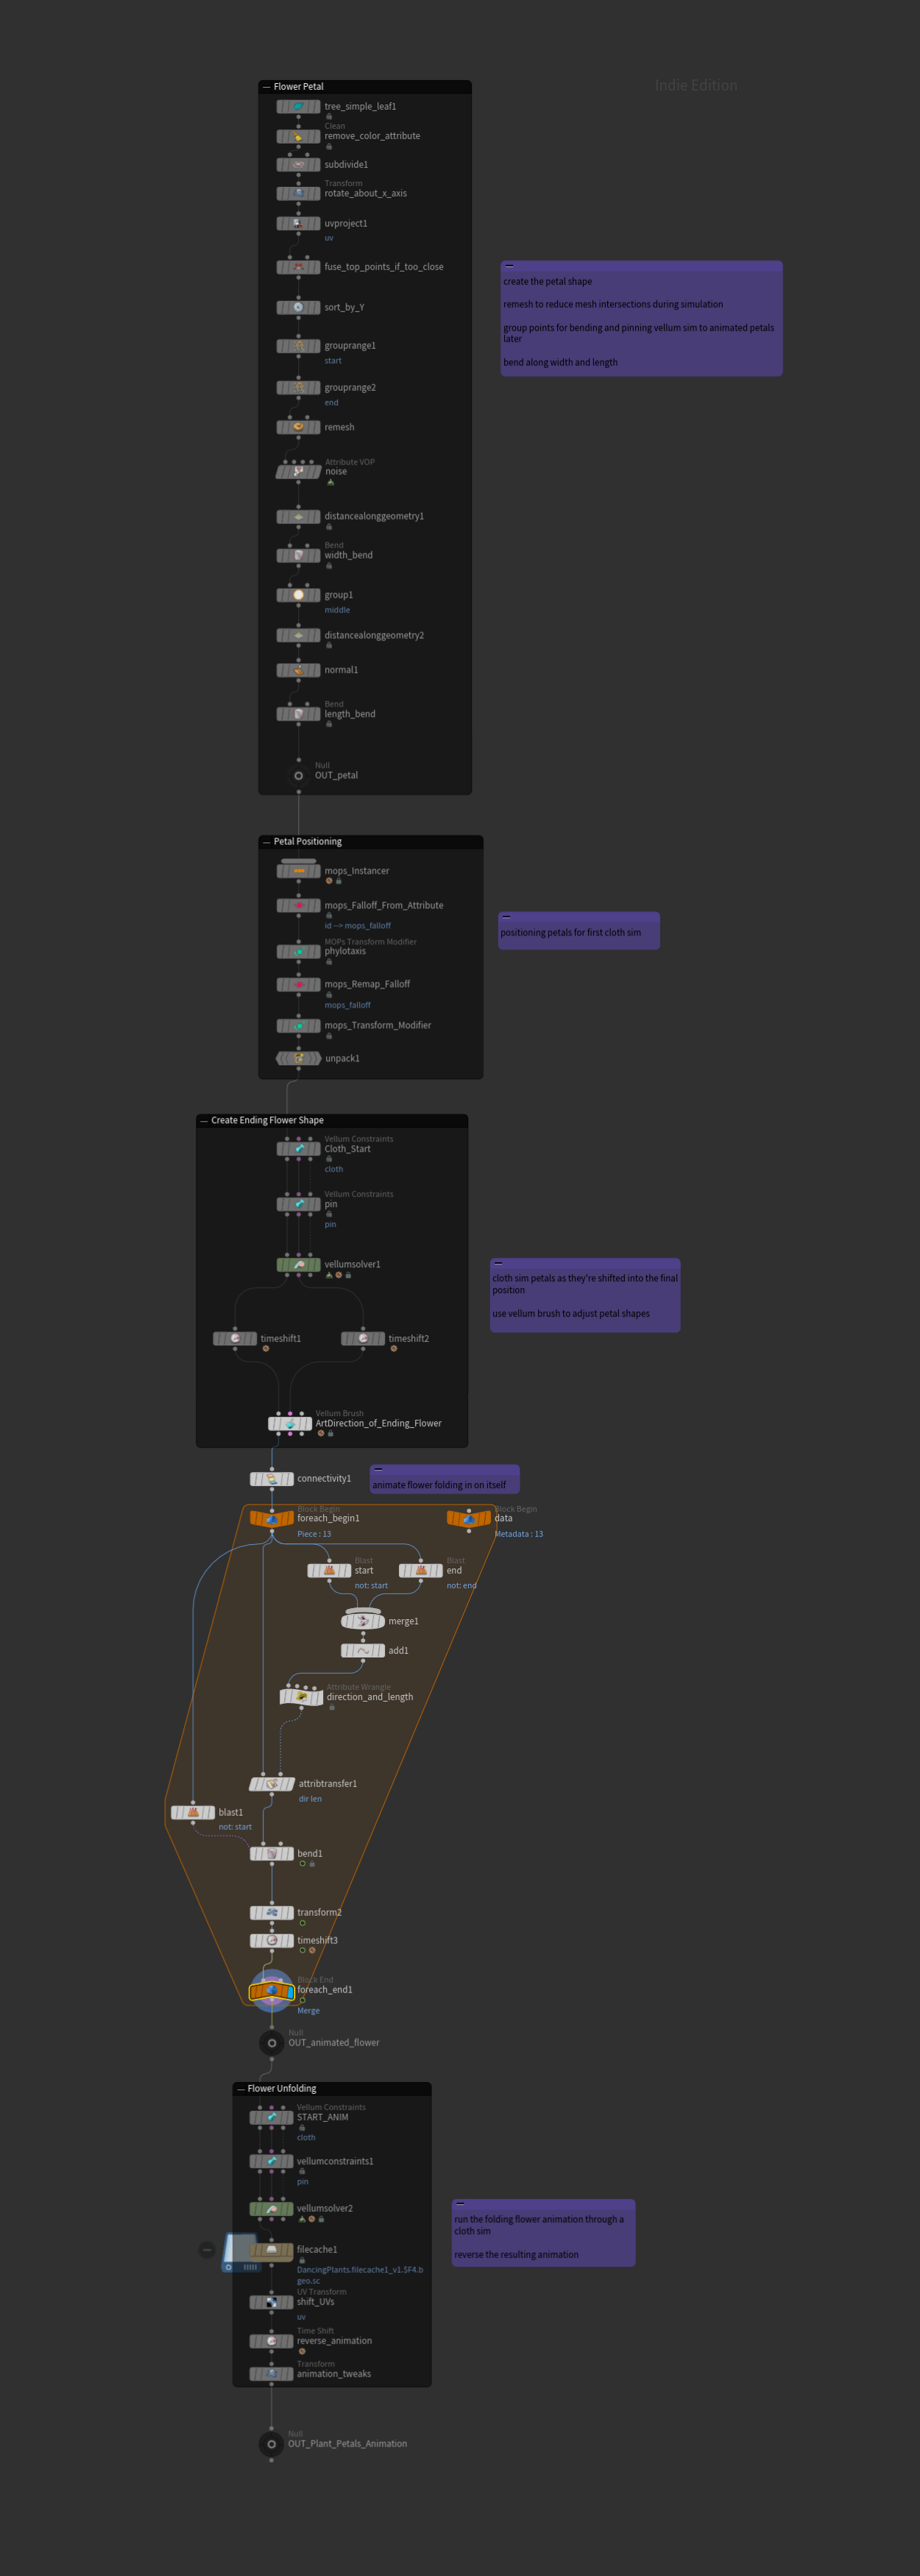
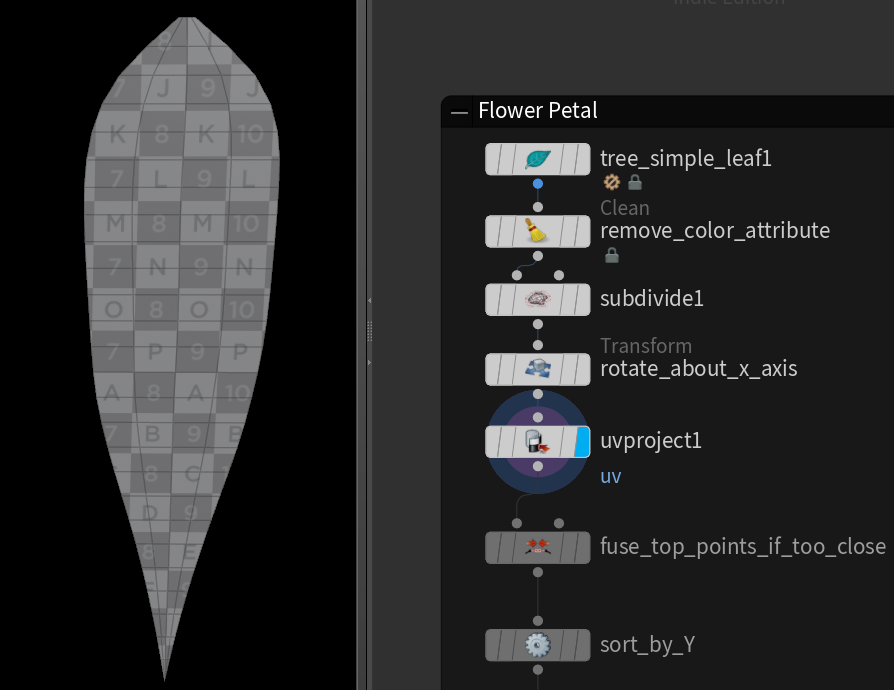
Petal Creation
I start with a simple leaf node from Sidefx Labs, create some UVs, then remesh it. I attempted to use a cleaner geometry for the petal, but there were just too many intersections during the cloth sim for my liking.
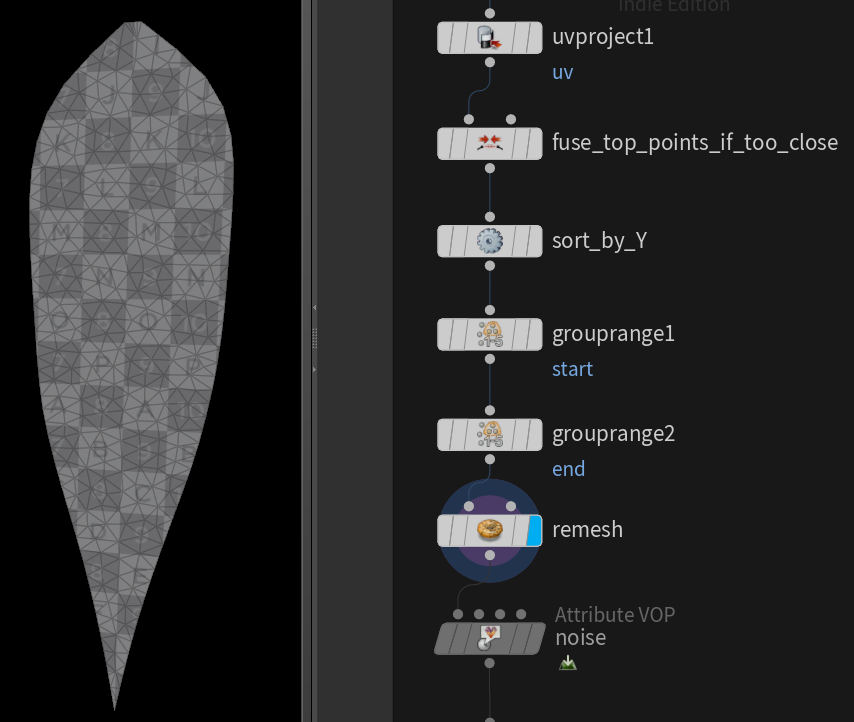
The top and bottom points are grouped for later and the petal is bent into its recognizable shape.
Positioning for Animation
The petals are arranged in a proper-looking orientation and then animated into a more final position.
This animation is run through a vellum cloth sim with soft pinning constraints.
Vellum Brush is used afterward to get the desired shape. This will be the end result.
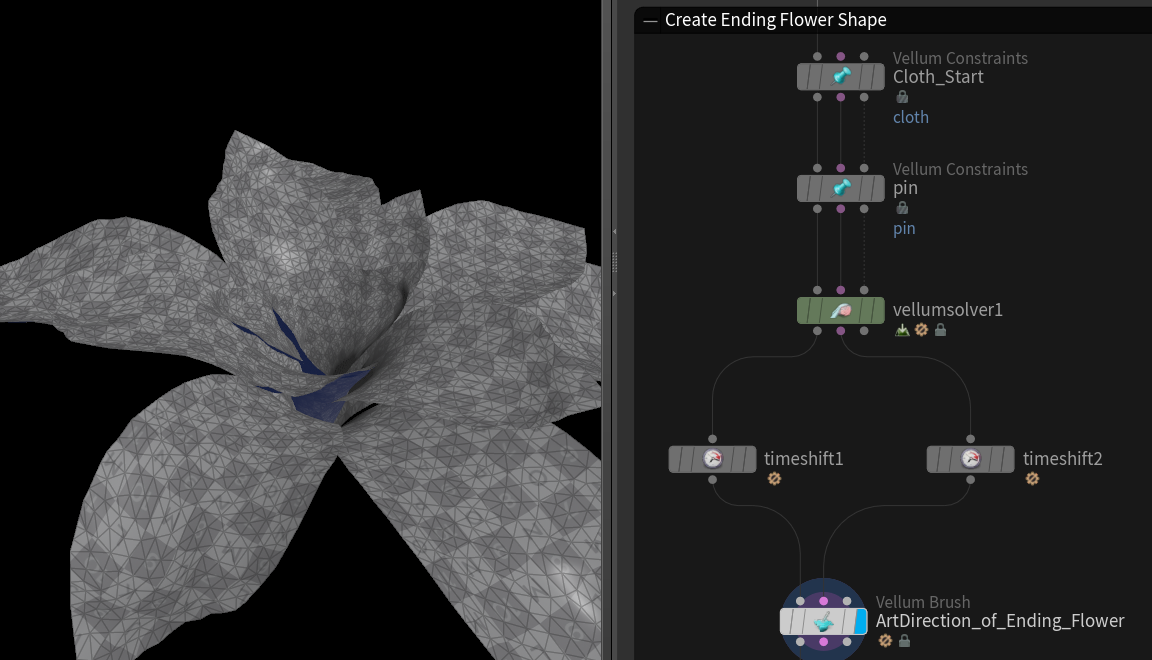
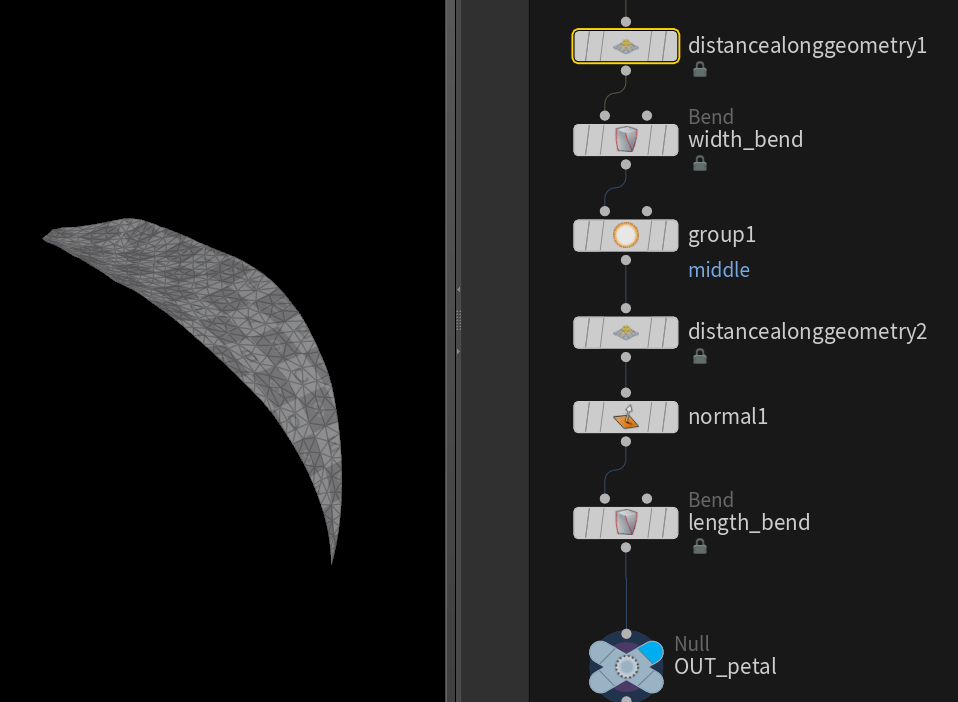
I can’t say I’ve ever had to reconstruct a bend at different points, but this was easily the coolest little trick I got from seeing Ian’s approach. We use the start and end points that we grouped earlier to get the capture origin, direction, and length for each of the petals. That’s used to bend each one in, resulting in this folding animation.
The animated petals are fed into another cloth sim with the same soft pinning constraints as before. The final animation is reversed with a time shift. I gave this a bit of additional scale animation so it feels like it has a bit of force when coming out of the casing.
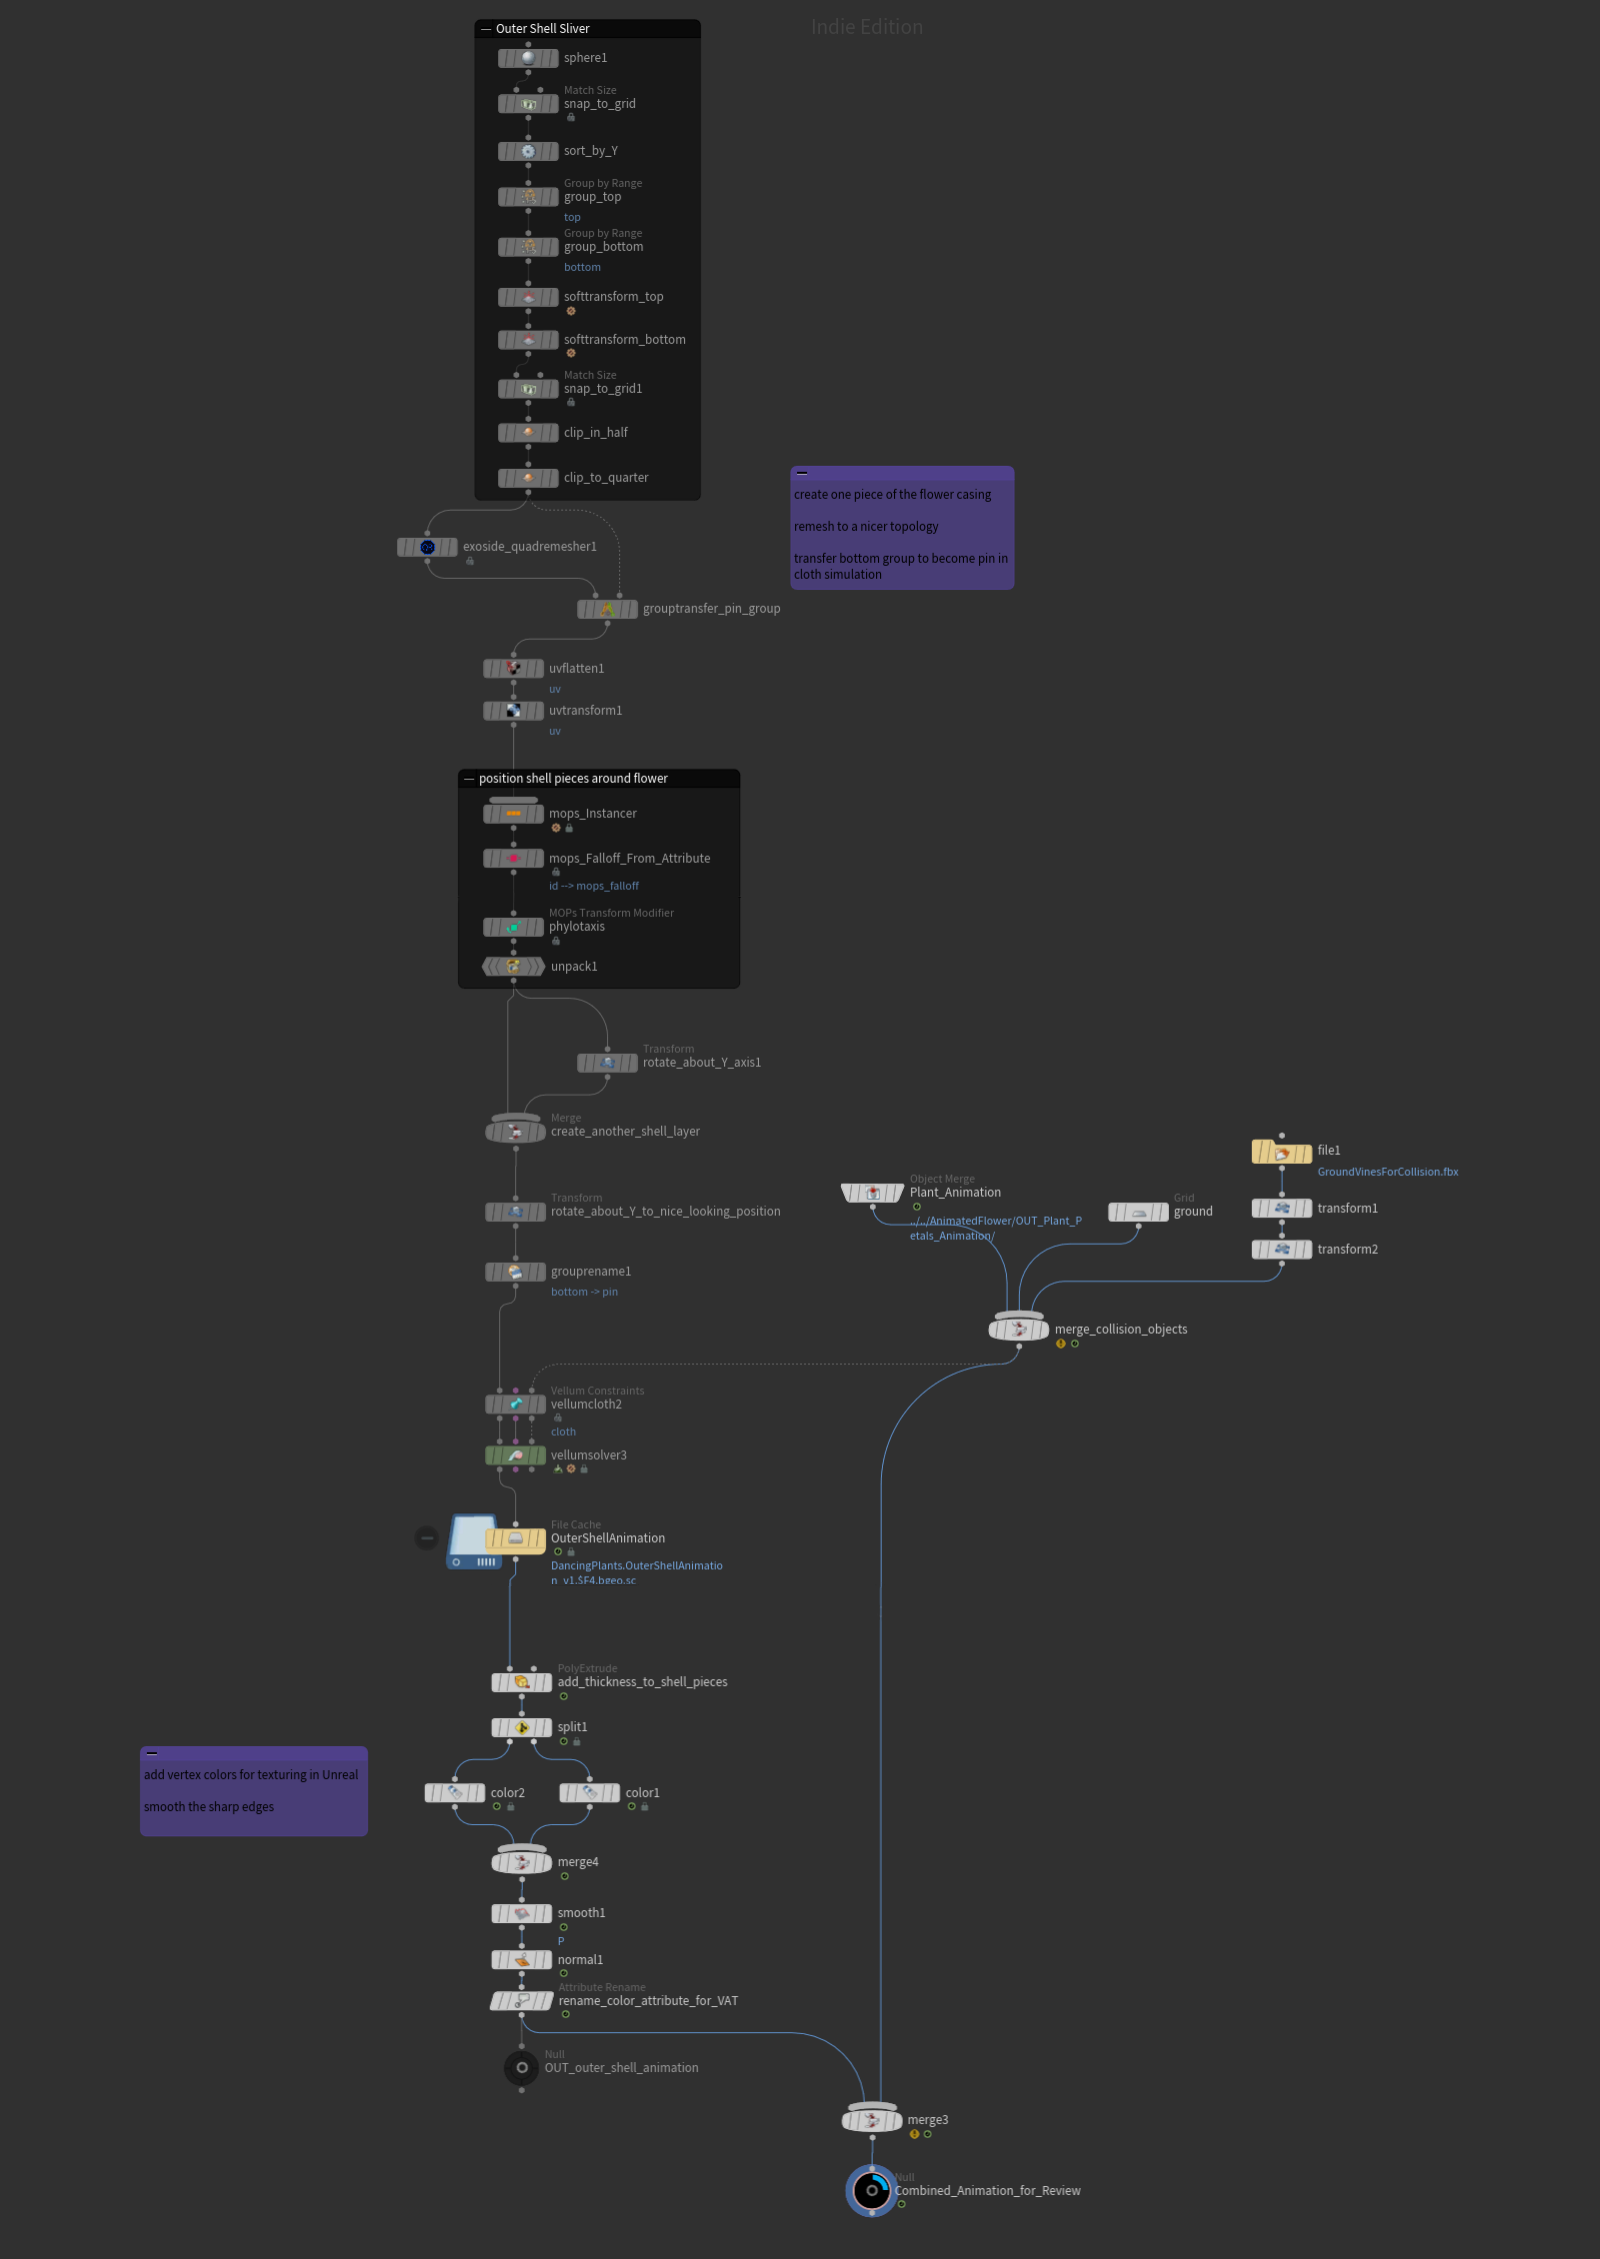
Outer Shell
As I was making the flower animation I knew it was going to be large in the Unreal scene, needing some place to hide this thing before it unfolds, I thought it'd be interesting to have an initial bud that it blooms out of. I created a sliver of this "shell" and gave it a pin group at the bottom of the mesh for the vellum sim later.
I hadn’t used MOPS before, but I finally downloaded them and I think it keeps the setup a bit cleaner. The pieces are arranged in two layers surrounding the flower.
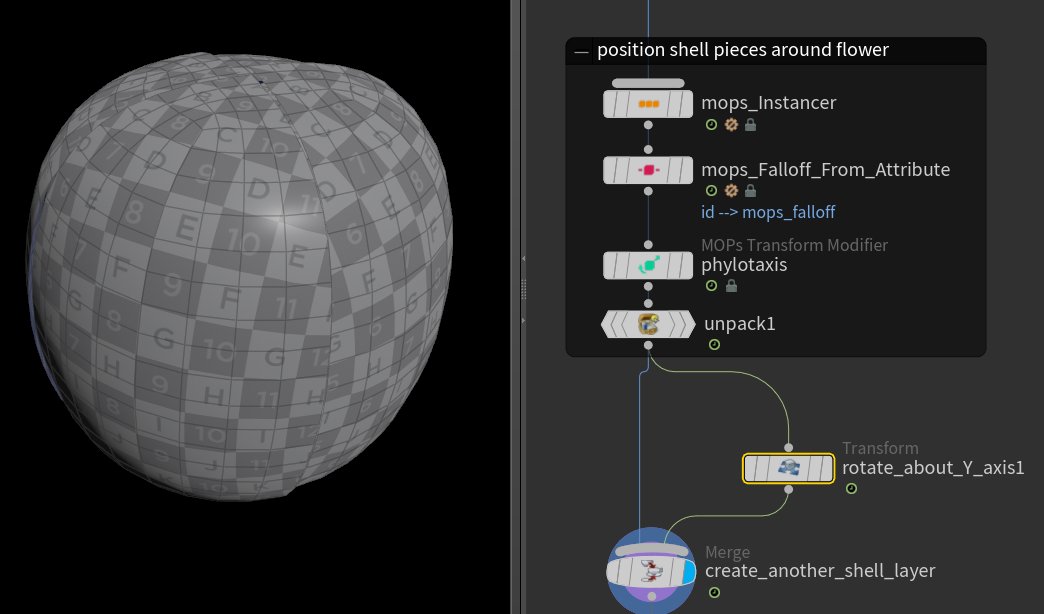
The flower animation is brought in and merged with a grid, to visualize the floor at the end, forming the collider for the “shell”. Later on in the project I started putting vines along the ground and brought those into Houdini to merge in. This made the final result a lot better as the slivers were pinned between two objects and moved around in more interesting ways.
The resulting slivers were extruded to give them visual thickness and smoothed to take care of any sharp angles. Vertex colors were added so I could easily texture both sides of the mesh with one material in Unreal.
Texturing
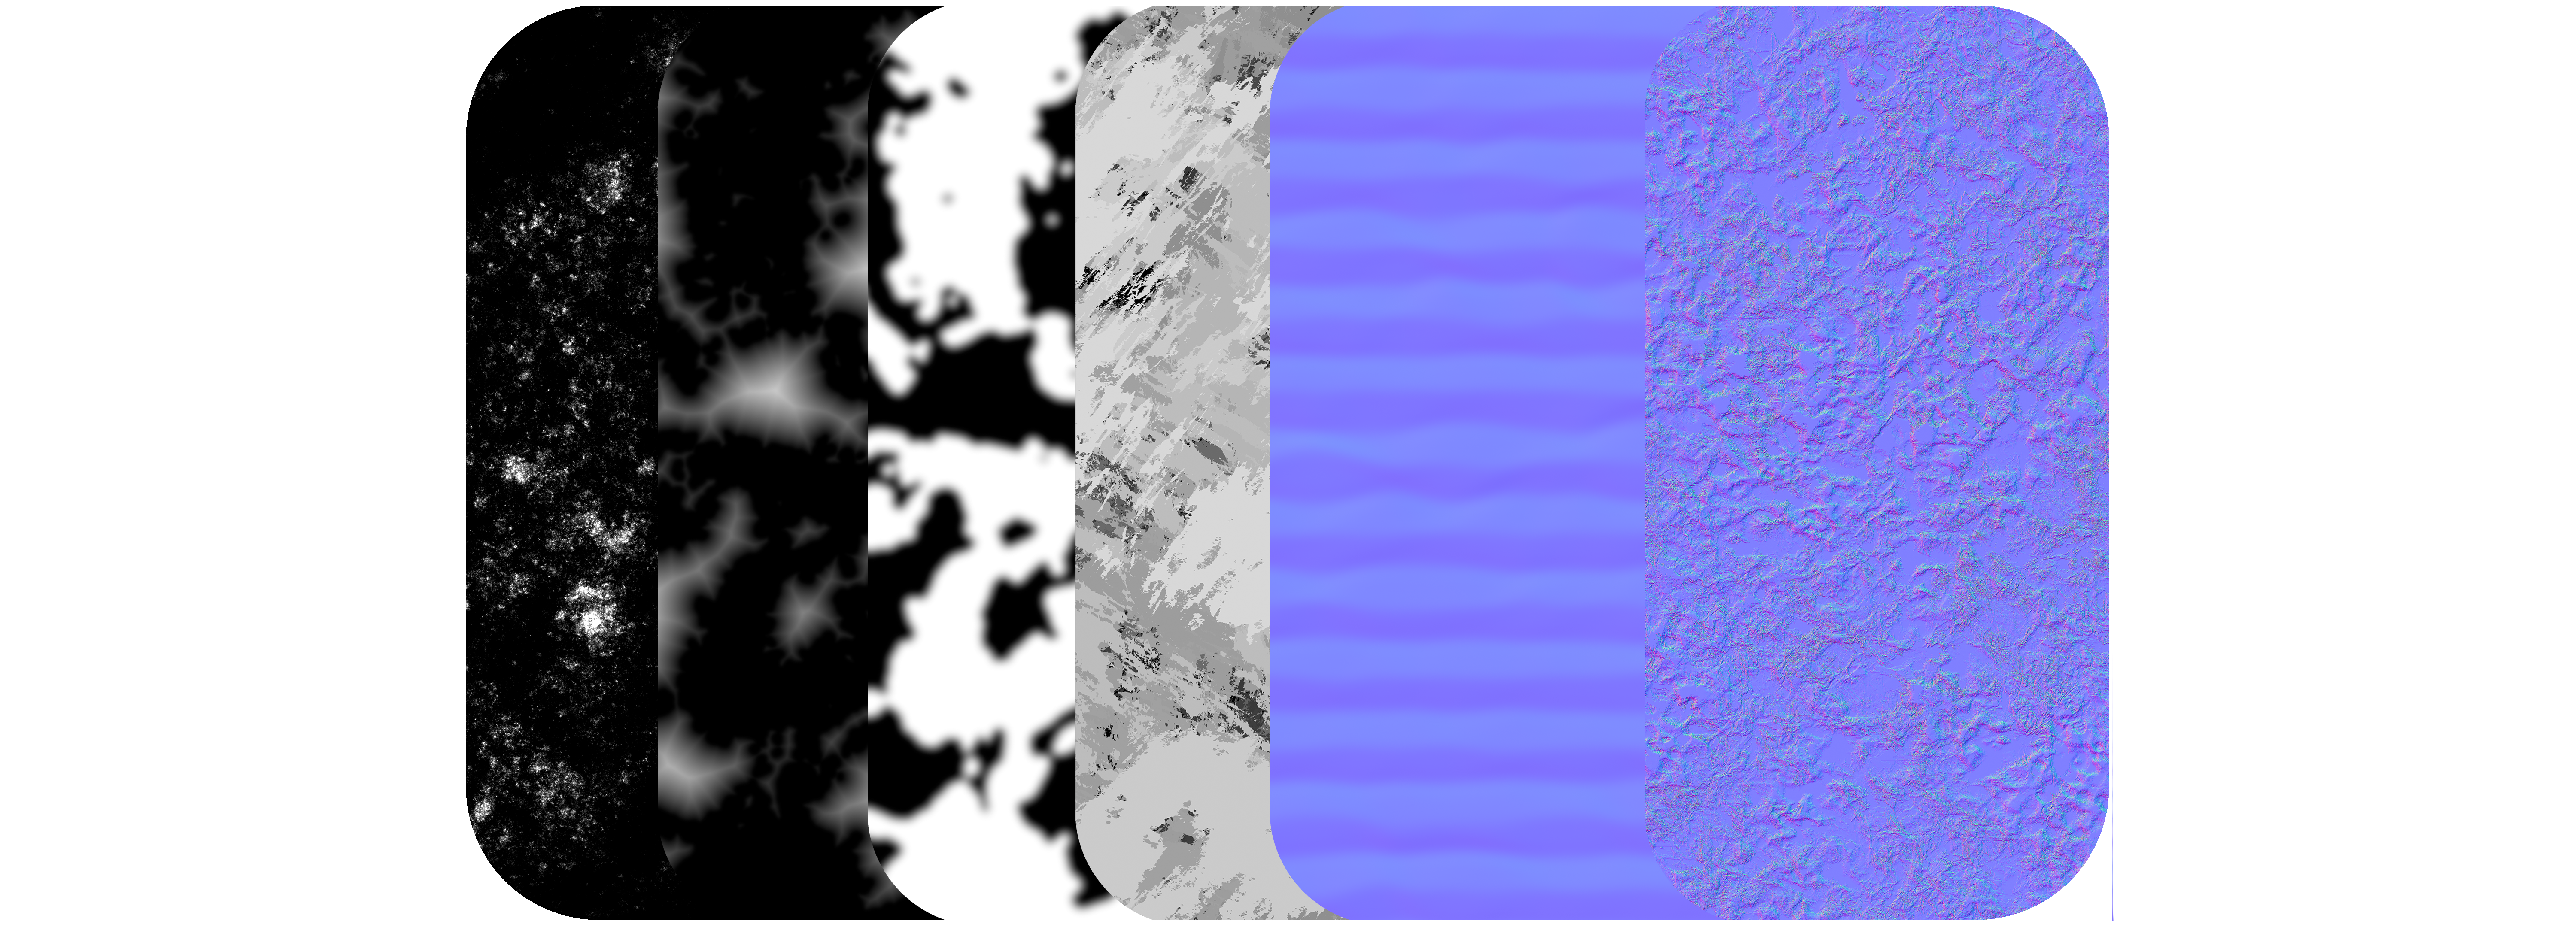
The outer shell was much easier as I just created a ribbed normal map for the interior. The exterior normal map and roughness/color variation for both sides were textures I had already created for the structure of the museum or for other projects. I used a couple of cheap contrast functions in the material to tweak different noises. The vertex colors from earlier are used to blend material attributes for the front and back.
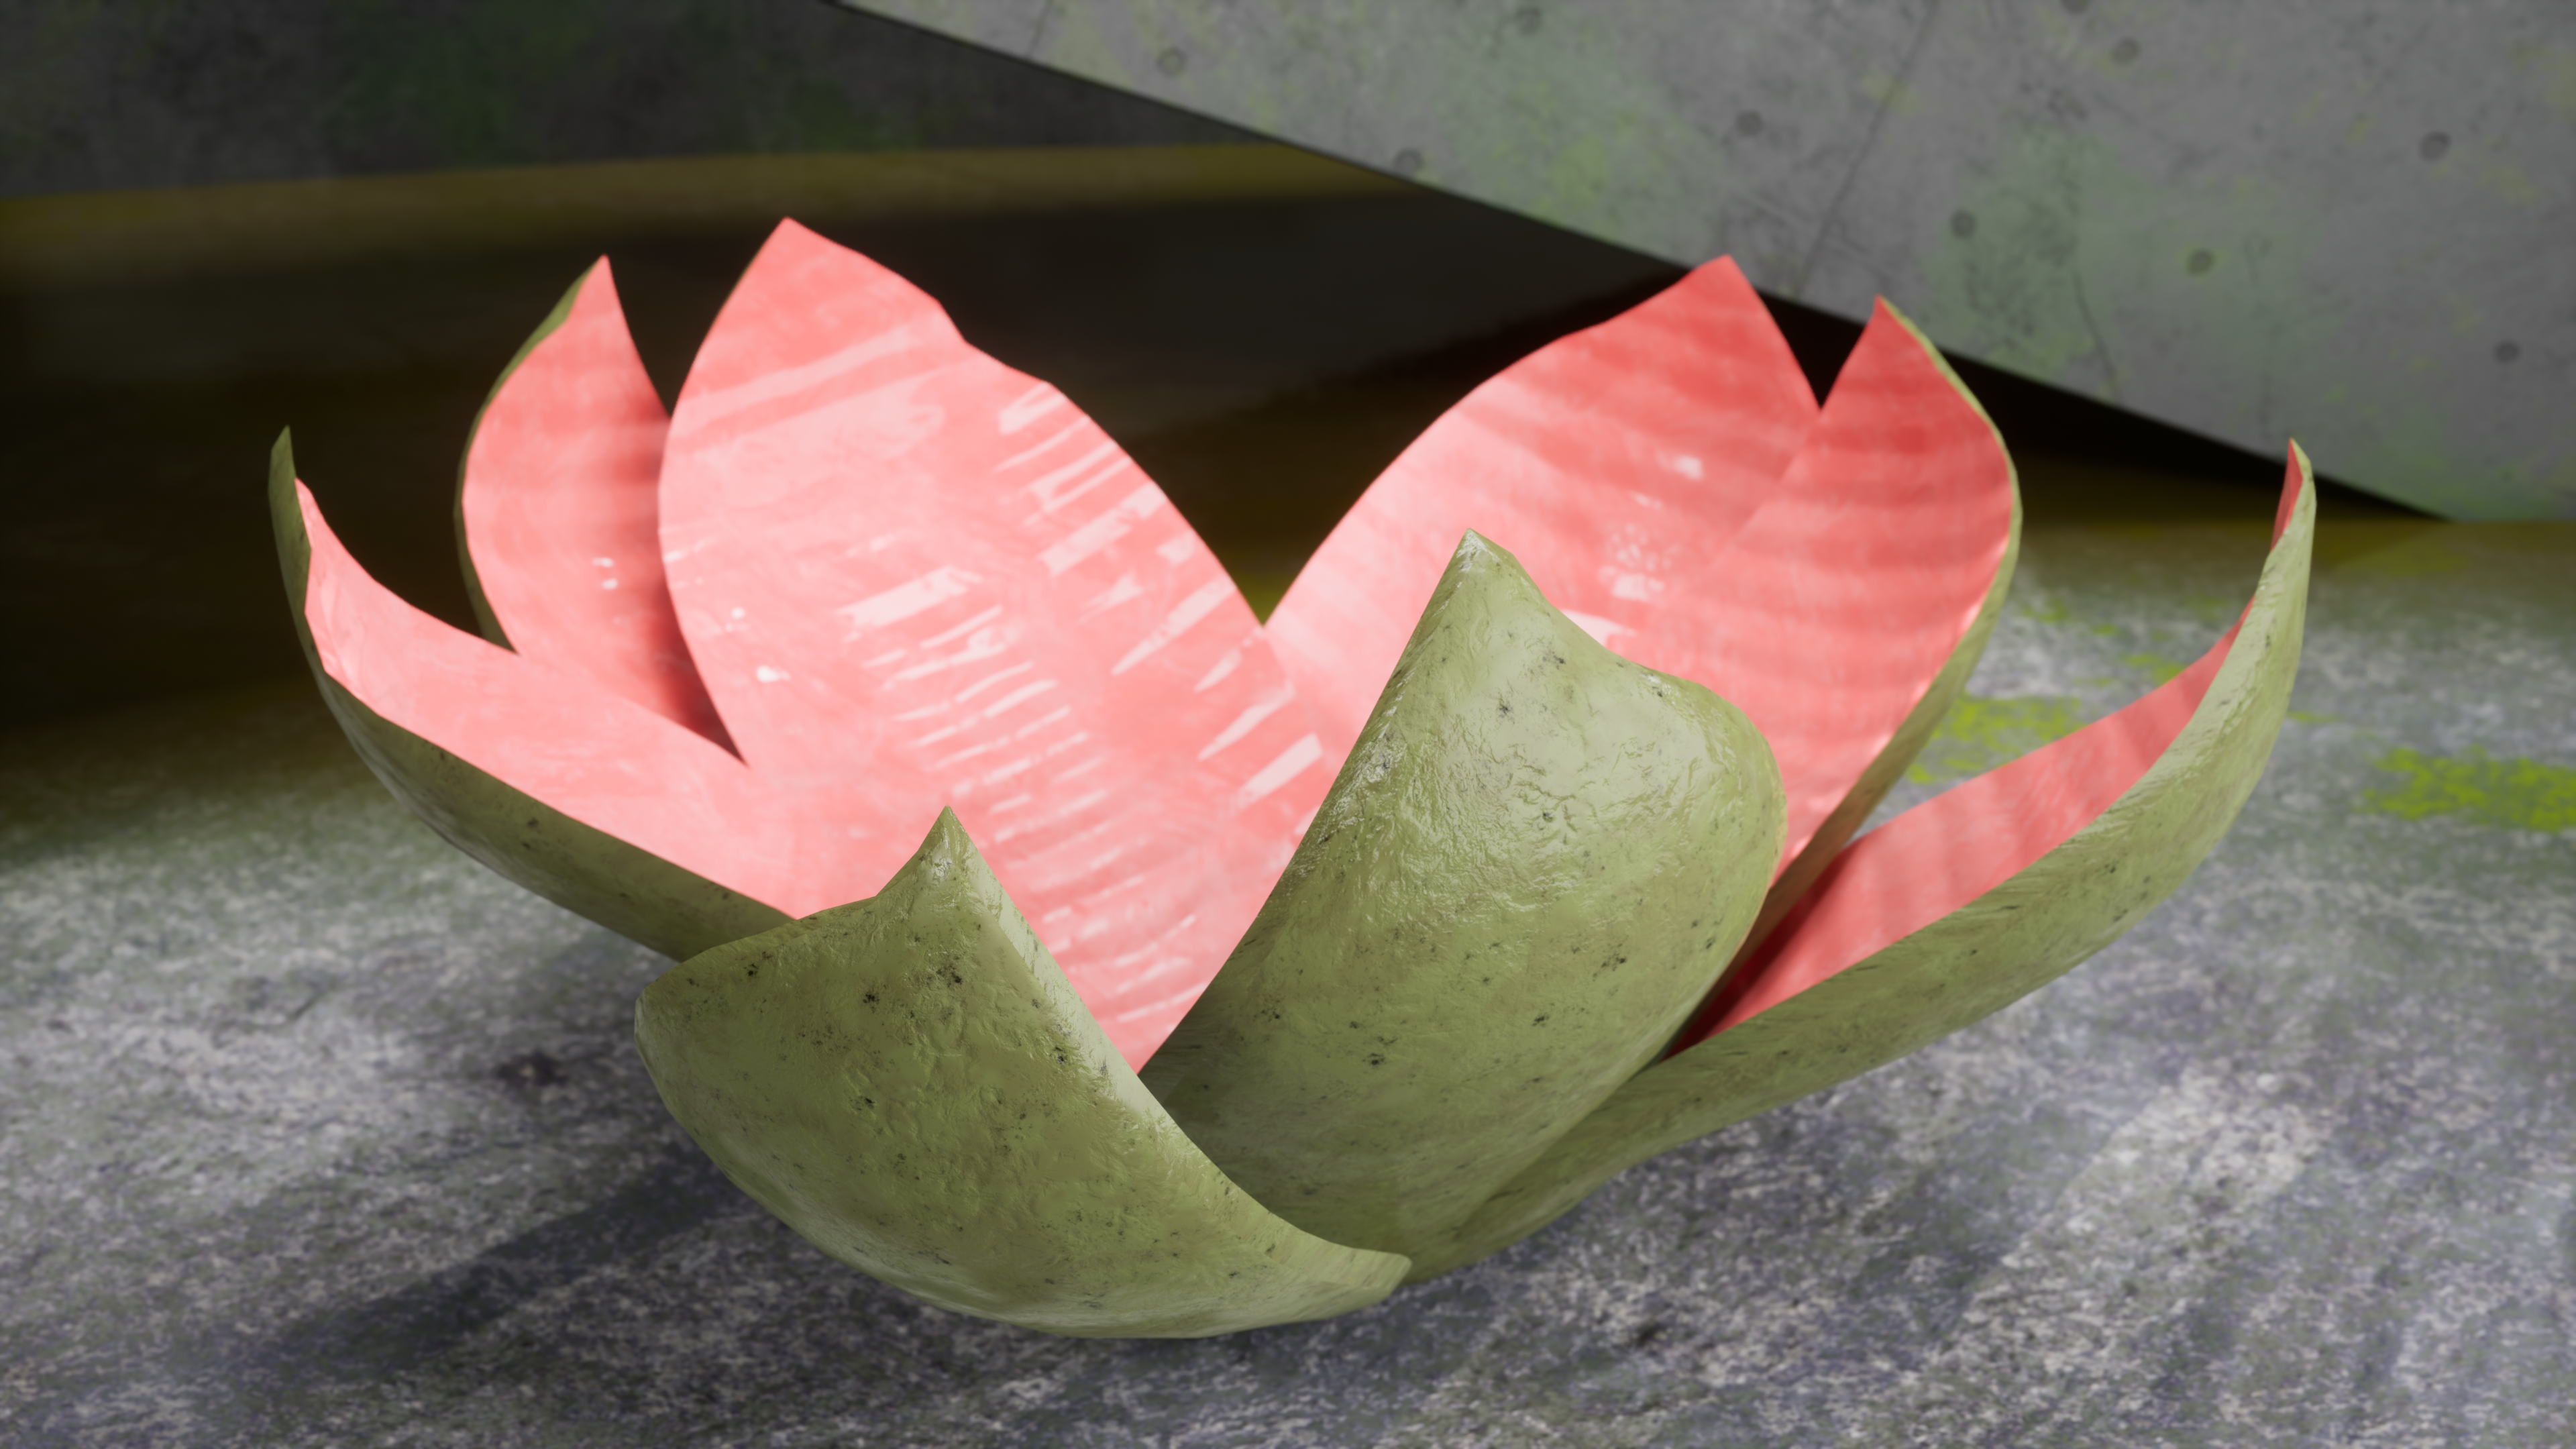
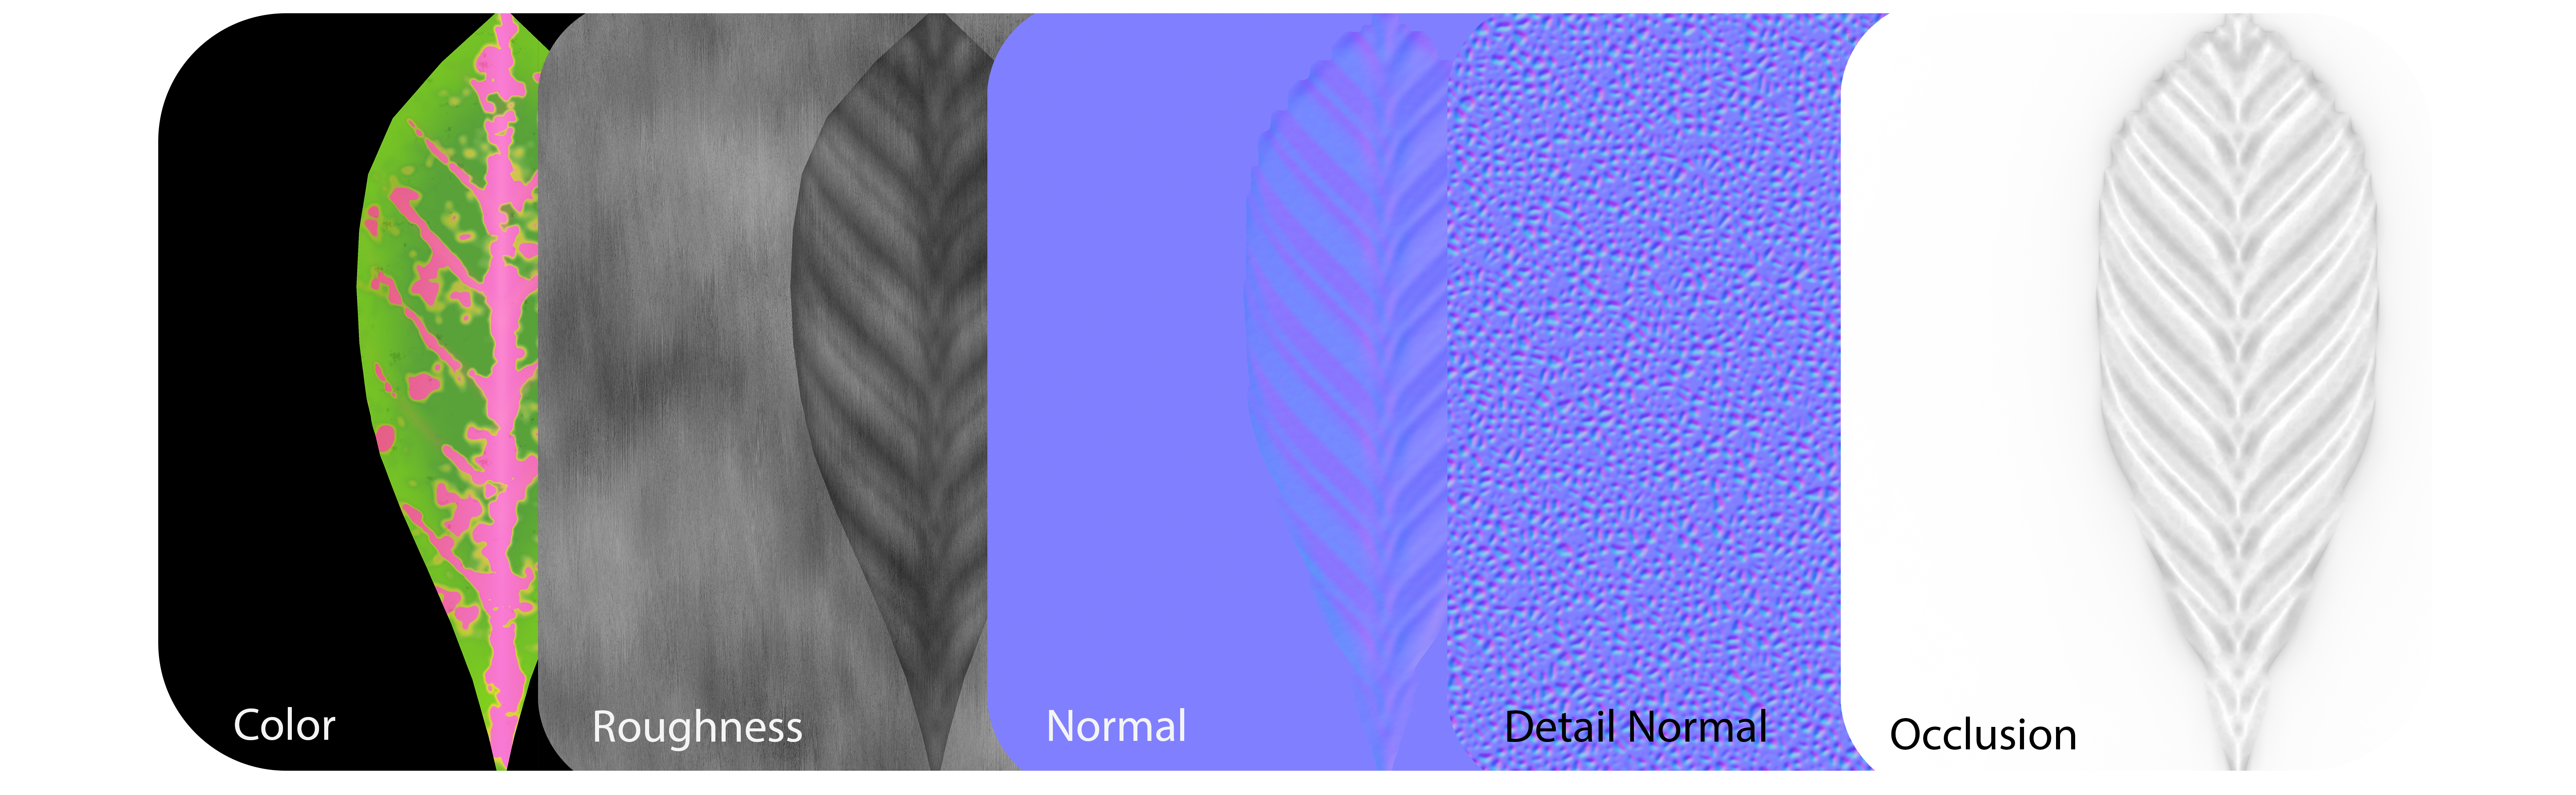
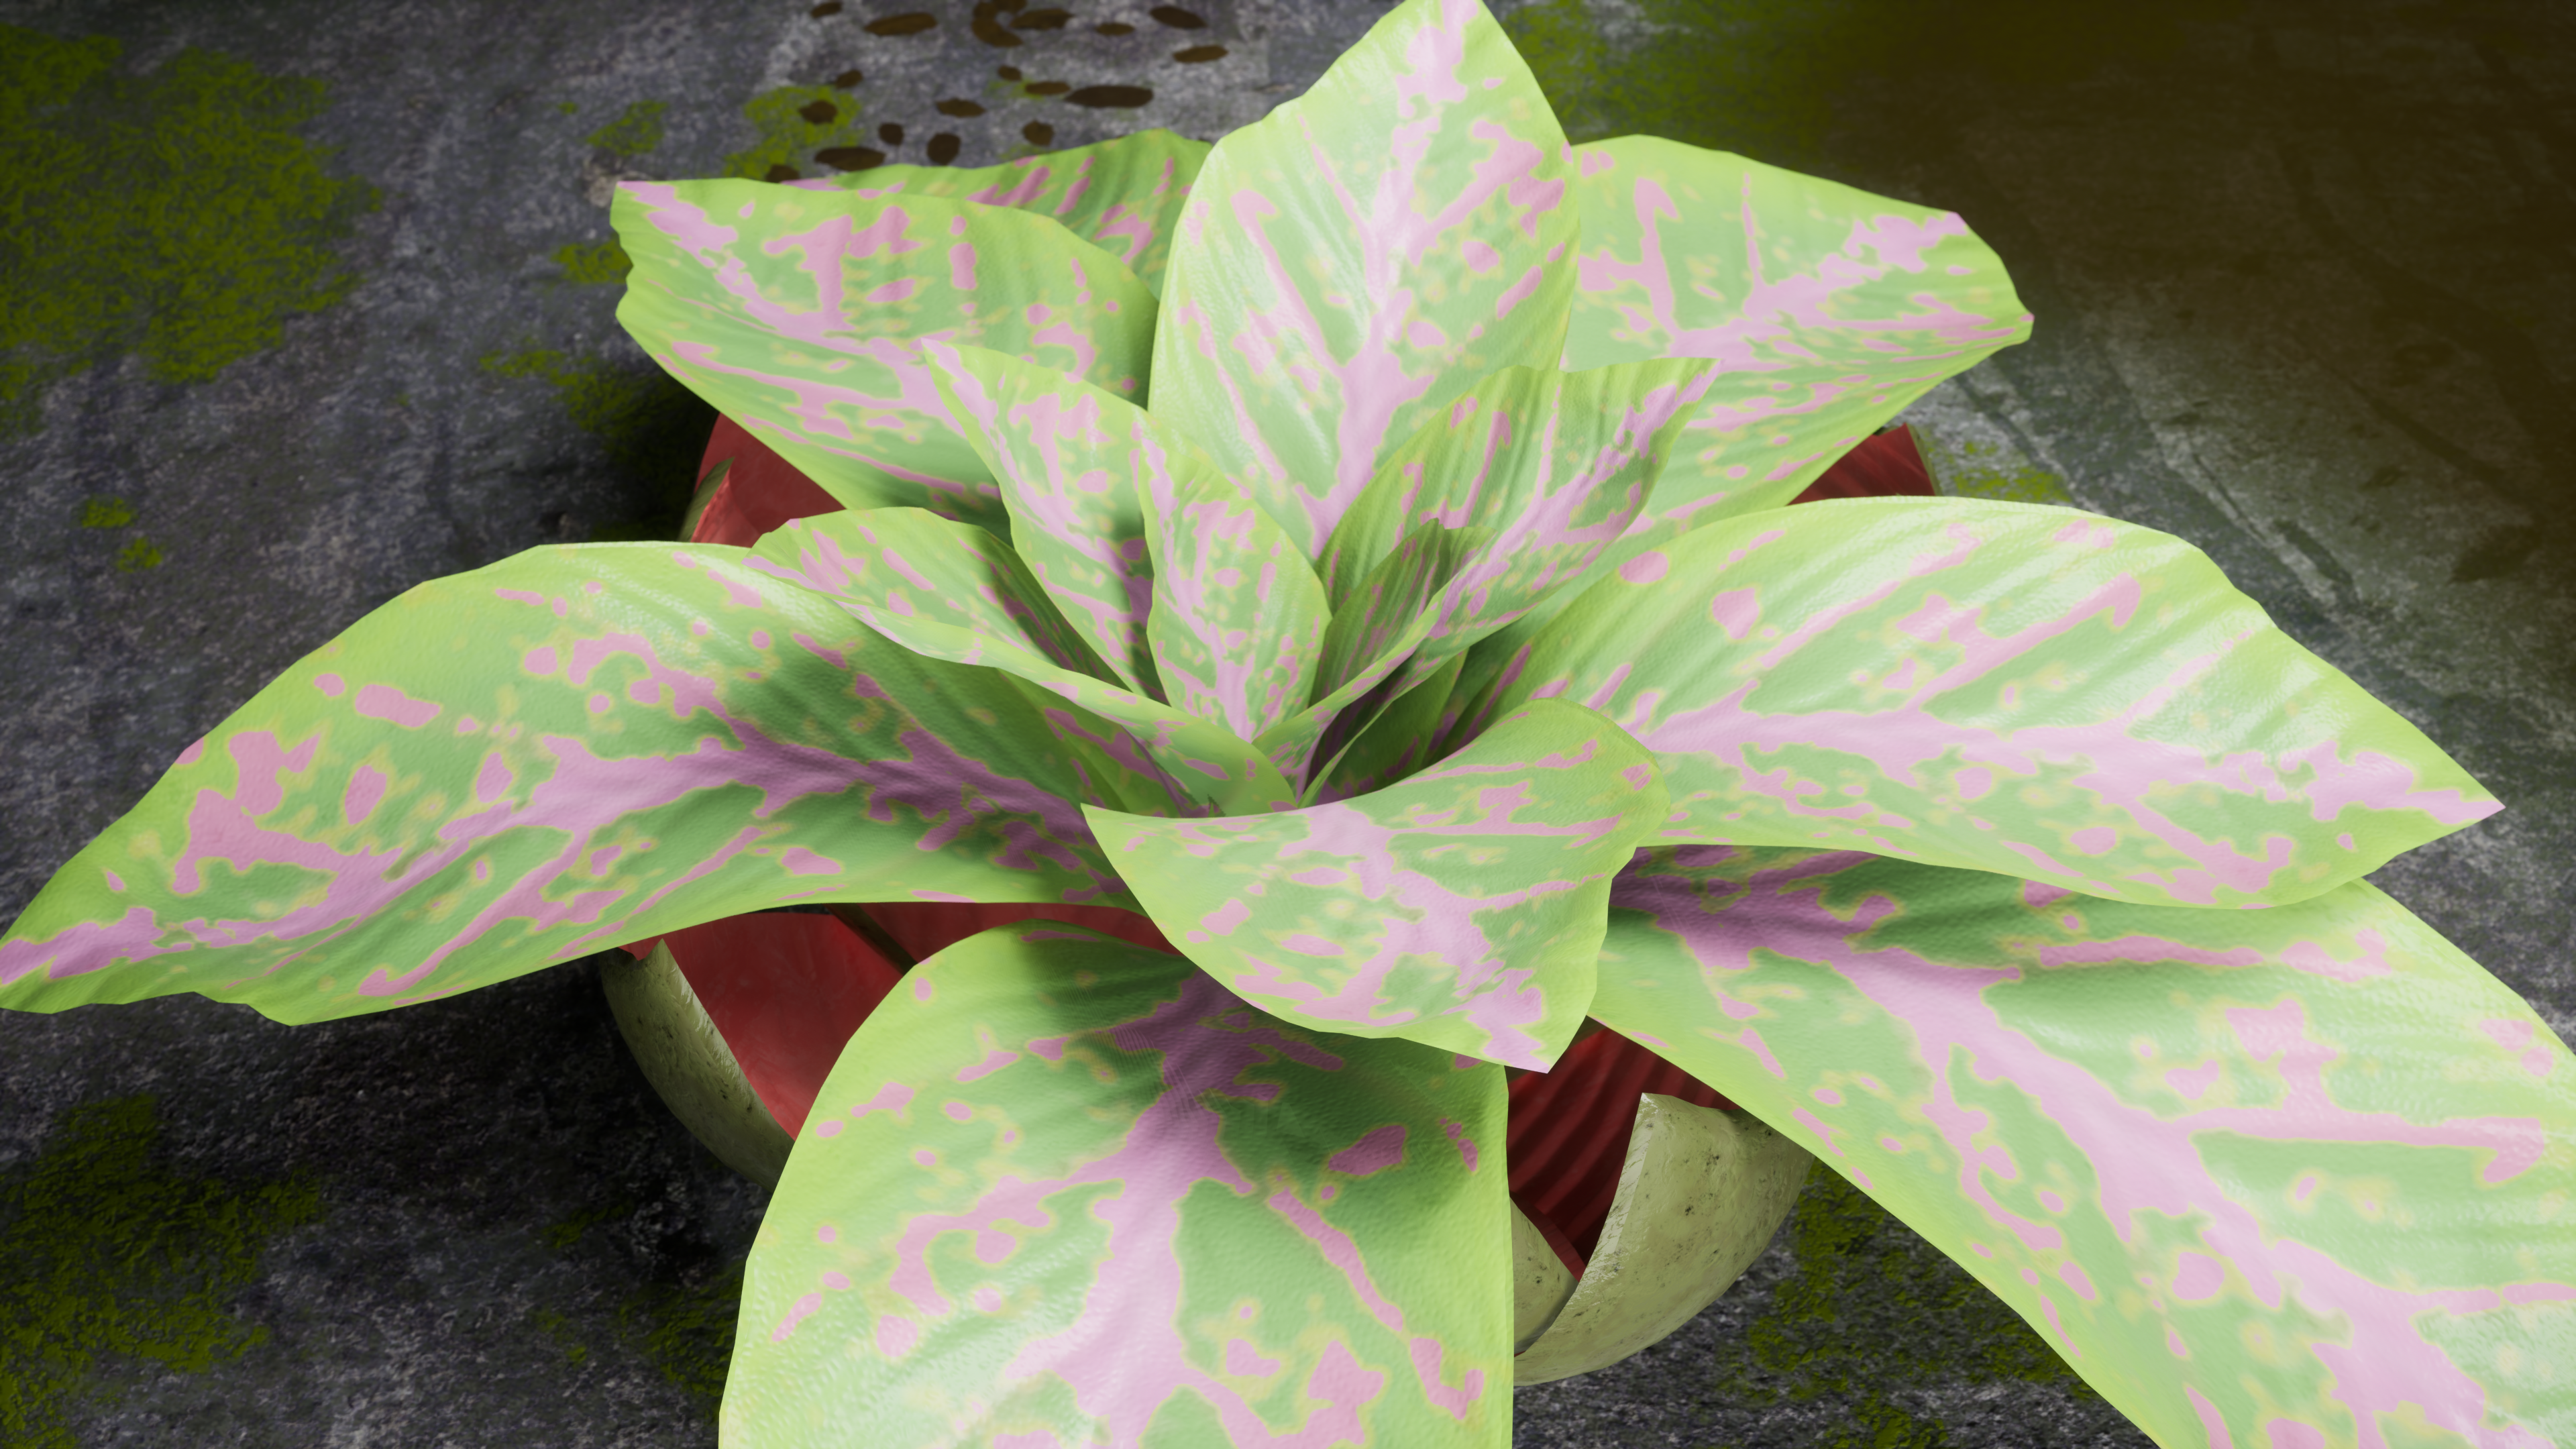
The inspiration for this were Elephant Ear Plants. There are a lot of interesting pink varieties of Caladium. I tried to take subtle details from them rather than a direct copy as it didn’t fit the leaf shape during my testing. The material in Unreal was two-sided with the underside using the same Albedo Map as the top. A mask for the subsurface scattering gives a hint of darker veins. I initially had a more complicated setup, but the underside was never that visible and I felt it was a waste.
The flower and outer shell were exported separately as soft body deformations using the Labs VAT node. The final 65-frame animation was retimed in Unreal to be a bit slower.
I didn't have much experience with some of the newer vellum constraints in Houdini, but found them to be incredibly useful in allowing you to guide the simulation toward a more predictable result. Easily one of the more rewarding projects I've worked on since I've never created foliage this large in Designer. I was quite happy with the result. If you have any questions or comments, don't hesitate to reach out. My contact information is linked on the left and at the bottom. 'Til next time!
Full Networks